To access in Admin go to: Job Postings>Job Fee Setup.
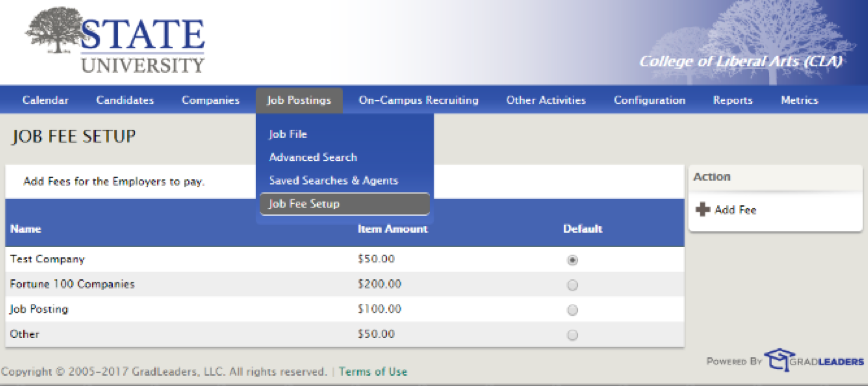
On the right side of your screen under Action, click Add Fee.
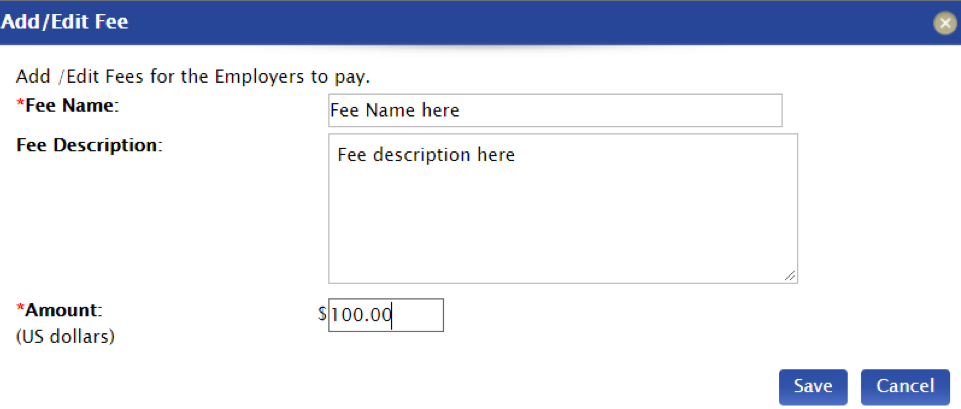
Enter desired Fee Name, Description and Amount>Save.
Be sure to select a Default Job Fee to automatically charge a specified amount for all job postings.
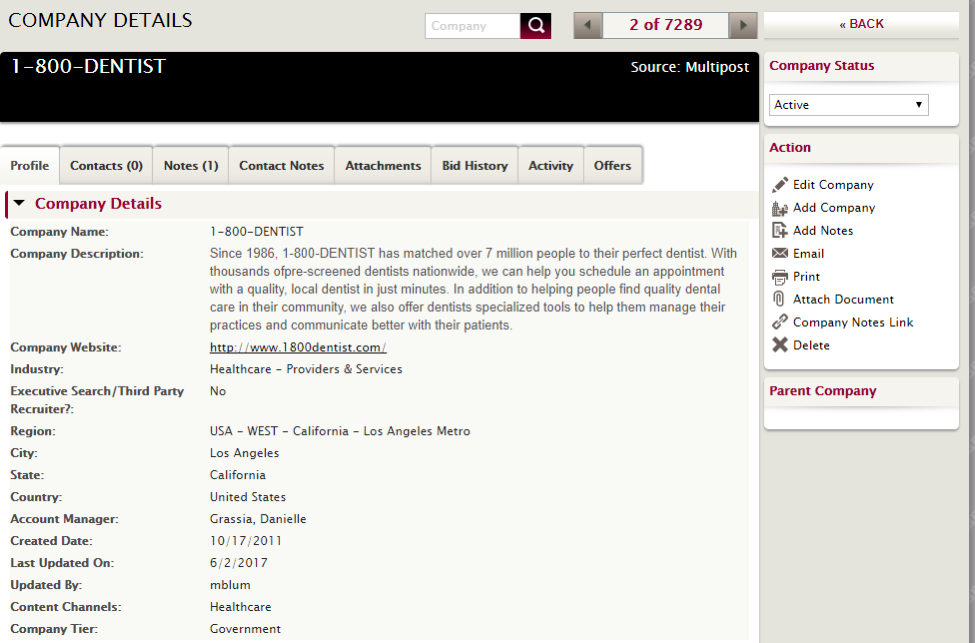
To set up different fees for a unique company, click on the desired company from Company File. Click Edit Company on the right-hand side.
Select Company Tier (based on what you set up in the Add/Edit Fee section)>Save.
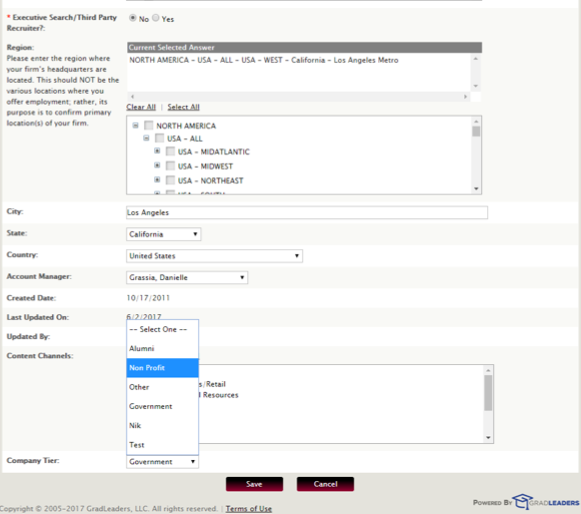
Note: There's a limit of three Tiers you can create. If you need additional Tiers, contact support at support@gradleaders.com. Additionally, if you log in as an alumni in the Candidate Profile, you can post a job for free.
From Job Postings>Job File the grid can now include a Payment Status column:
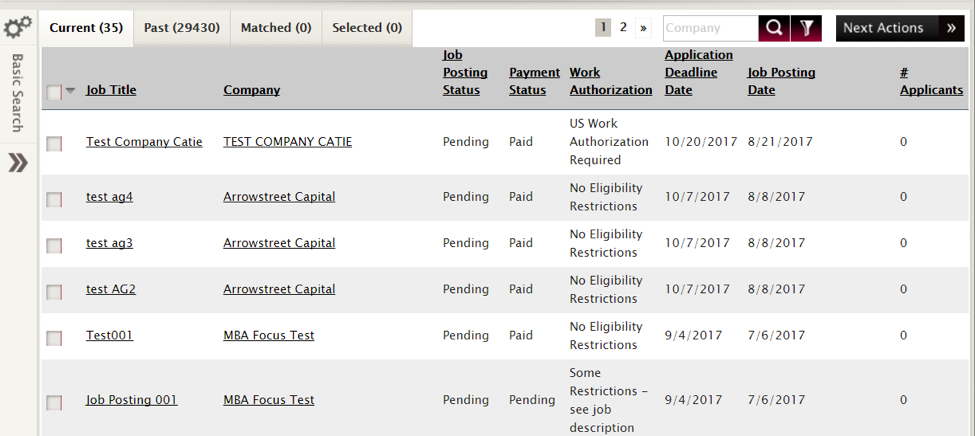
From here you can also view all the jobs that employers have posted by Job Title, Company, Job Posting Date, Applicated Deadline Date, Position Status, Expiration Date, Job Posting Status, Job Application Method, Work Authorization and # of Applicants.
Click on any job posting for more details.
From the right-hand side of the selected job posting you can do any of the following:
- Edit the job posting
- Enter payment or waive the fee
- Print Invoice
- Notify the creator that the posting is approved or denied
- Convert to an On-Campus Interview Date
- Add notes
- Clone the job
- Embed a link
- Cancel
- Contact the recruiter who posted the job (via email)

When an employer posts a job from Job Postings in the employer portal, they'll select their payment method from the drop-down menu (Cash, Check, Credit Card or PO).
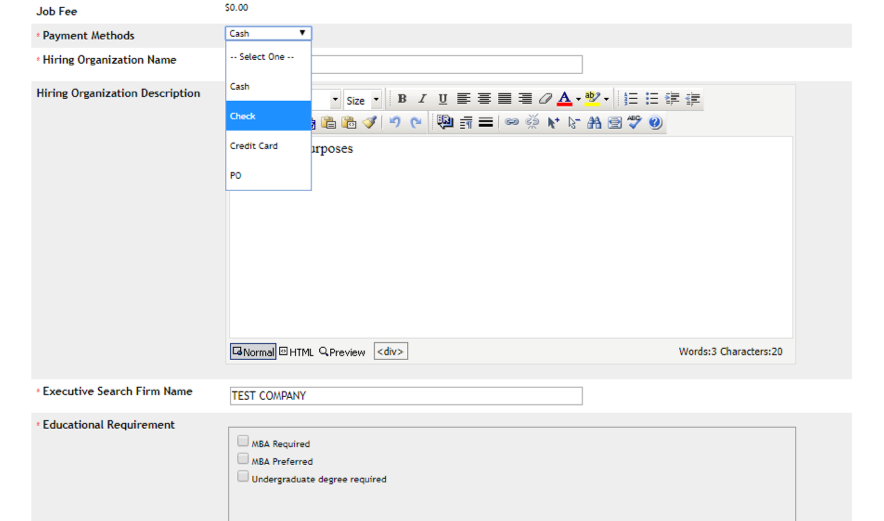
Once they input applicable information they'll be charged per job posting.


 Add Comment