GLCC offers advanced analytics reports powered by Looker in the Admin interface. These reports are in addition to the Metrics dashboards for Email, Candidate Activity, Job Posting Activity, Employment Reporting, Advising/ Coaching and Employer Engagement. These reports can be filtered and sent out on demand or as scheduled.
Permissions: Any Admin User with the Looker Reports permission will have access to this menu.
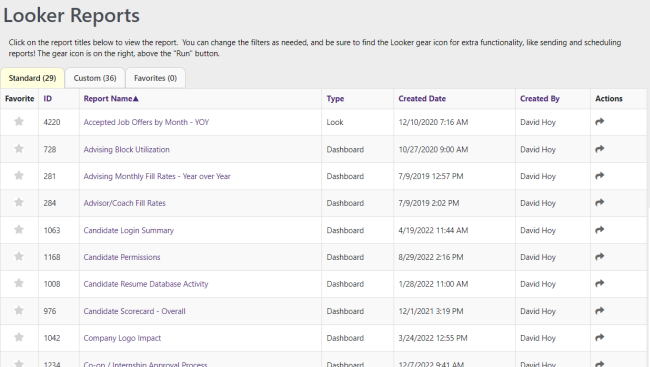
Standard Reports tab
How to Access and Filter Looker Reports
All are accessible through Reports > Metrics Dashboard.
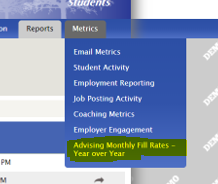
The Standard Reports are accessed through Reports > Metrics Dashboard > Looker Reports.
NOTE: Standard Reports will vary by school type.
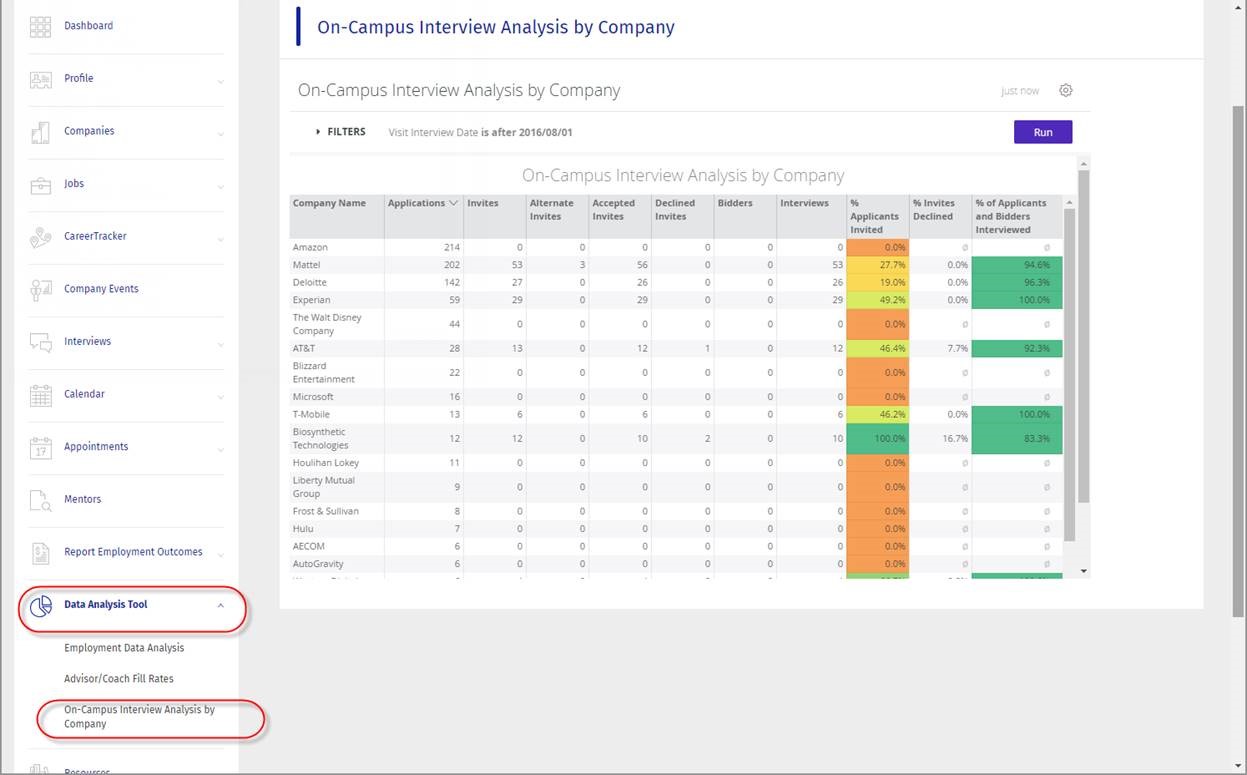
To access, click on the report name, ex. Advising Monthly Fill Rates - Year over Year
The report pulls your school's data which can be filtered to meet your specific requirements.
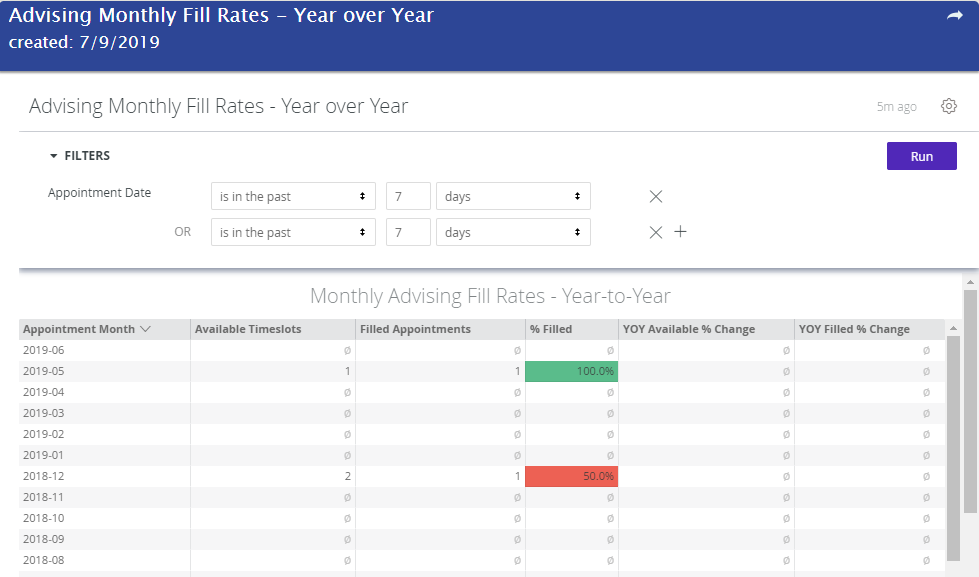
To filter data, change parameters and click on Run.
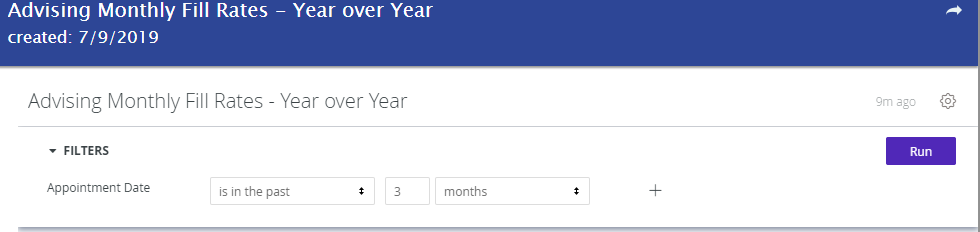
A report reflecting new data filters is generated.

How to Download, Send or Schedule a Report
Click on the Gear in the top right.
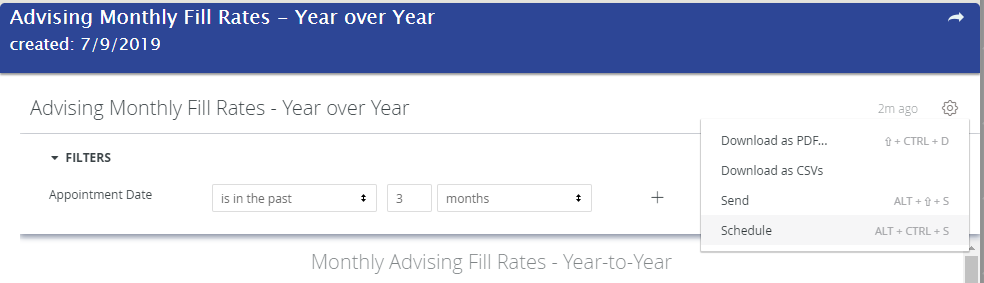
Download as PDF or CSV - click here to export the data.
How to send the report in an email
Click Send to have the report sent to specific email addresses.
Select a Title for the email. It will default to the name of the report but can be changed.
Who should it be emailed to? - enter email address of recipients and click Add after each.
To include a custom message in the body of the email, click on Include a Custom Message... and enter text.
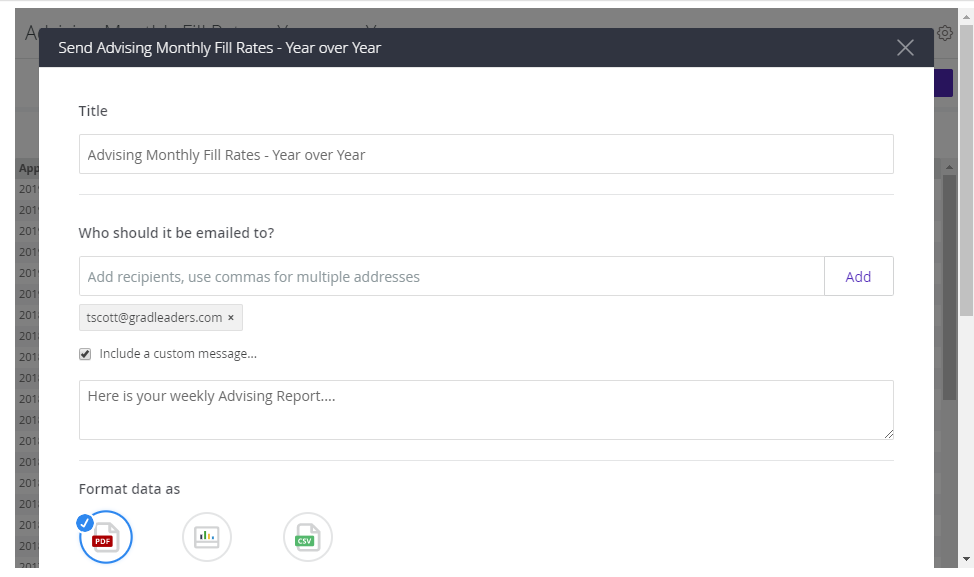
Select a format - options include PDF, Visualization (graphical result) or CSV ZIP file.
Select Filters (see image below).
Select Advanced options:
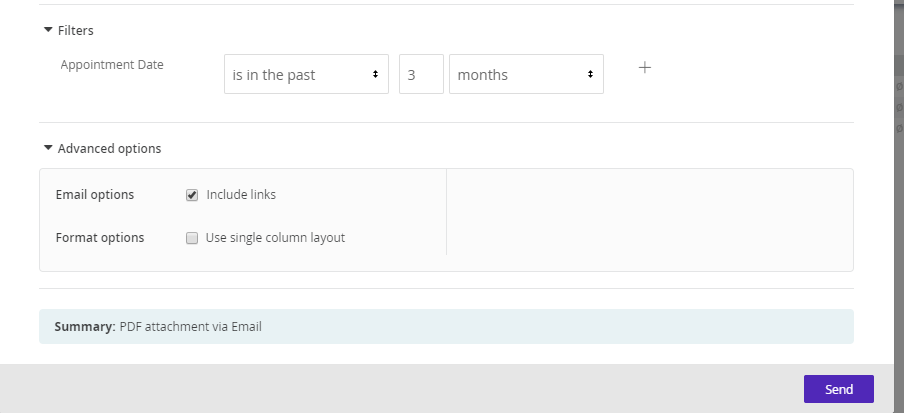
Click Send.
Email Format settings and Email Message Results
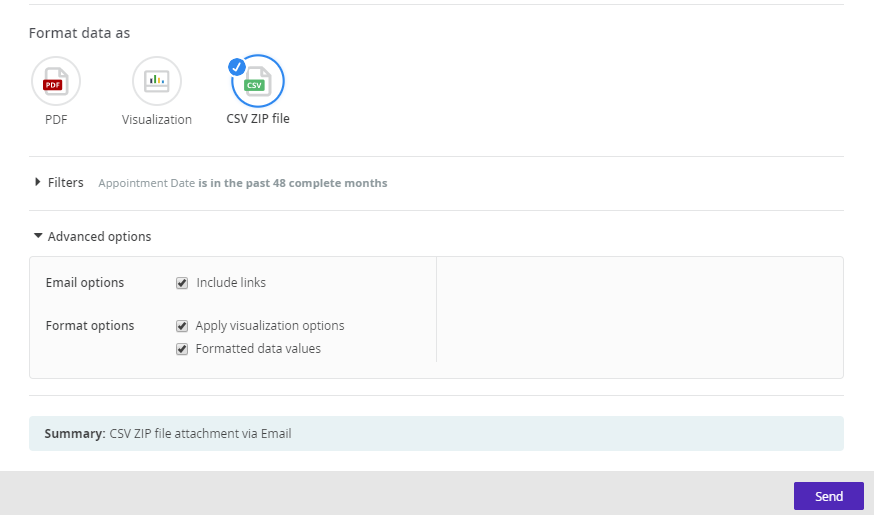
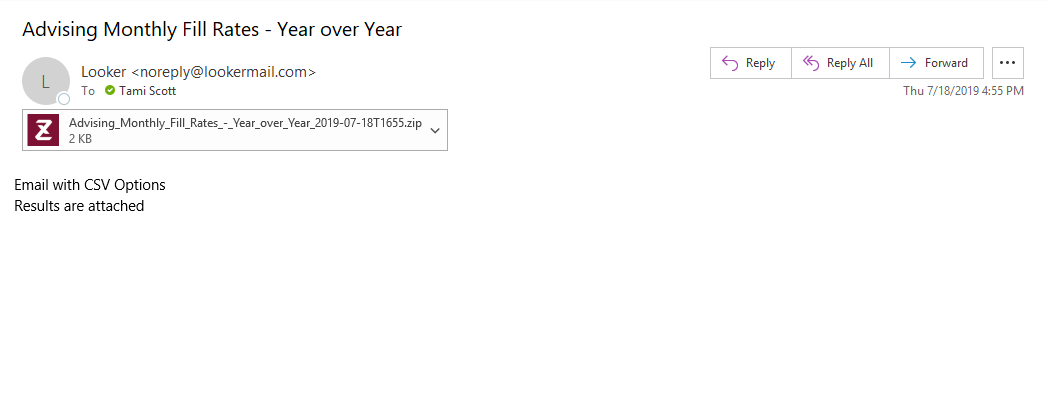
CSV Options
Settings
Message format
PDF Options
Settings
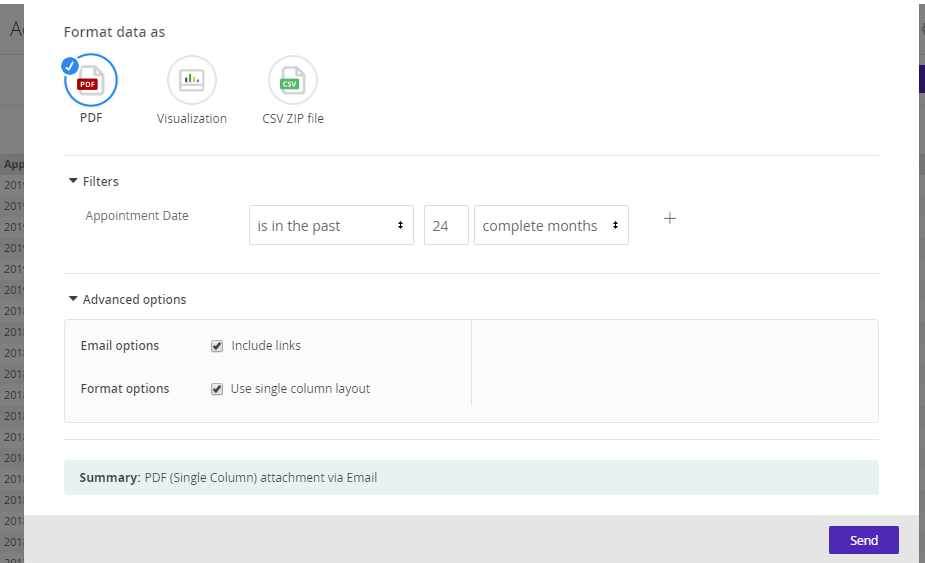
Message format

Visualization Options
Settings
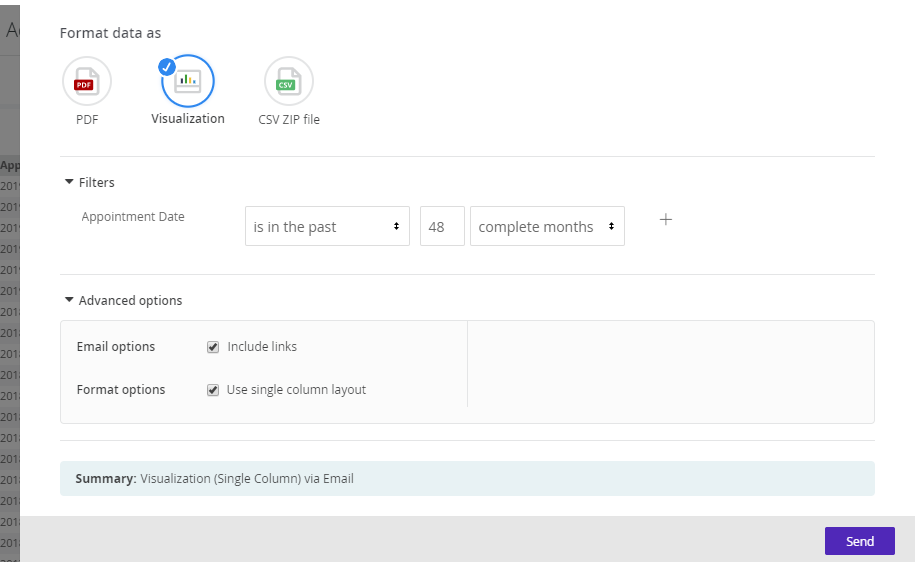
Message Format

How to Schedule the Report to be Sent Later
This option is similar to Send (see Above) but includes fields to schedule the emails to be sent on a recurring basis.
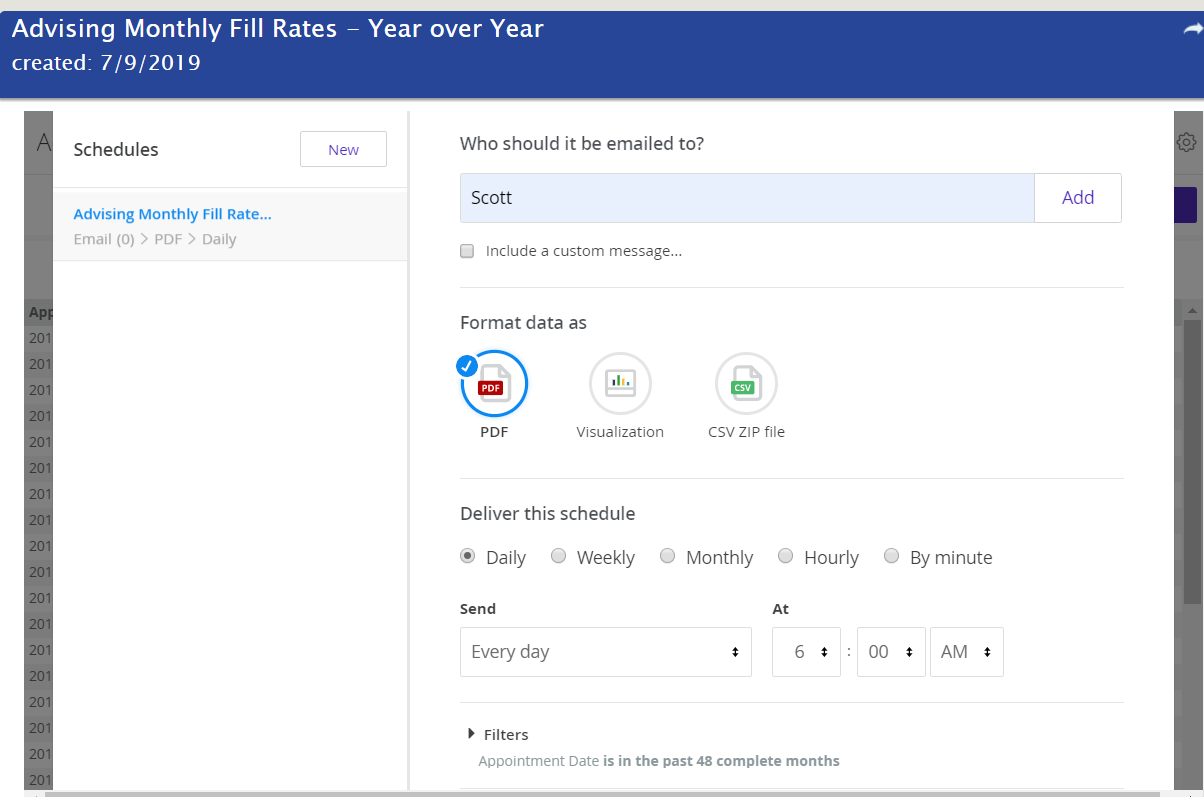
In the left pane, a list appears with all of the Schedules created for this report. Click on New after setting your parameters to create a new schedule.
Use Deliver this Schedule to select the frequency of the emails. Below that, select the day and time to send it. At the bottom of the screen is a Send Test button. This will send a test message to the designated email address and keep the window open. After verifying the test, the report schedule can be saved or cancelled.
How to add a report to the Metrics menu or to a student dashboard
Click on the arrow in the Action column next to the report to be added. ![]()
Select Audience
Custom Reports tab
Displays any custom Looker reports that have been designated to appear here. This can be done by any school with a Looker license. Custom reports can also be built by GradLeaders per school specifications for an additional fee. Talk to anyone on the GradLeaders team or email support, support@gradleaders.com, to learn more.
Favorites tab
Displays any Looker reports that have been starred, or designated as Favorites.
Article ID: 3452
Created On: Jul 15, 2019 at 5:08 PM
Last Updated On: Jul 27, 2023 at 3:56 PM
Authored by: Eddie Thomas
Online URL: http://kbint.gradleaders.com/article.php?id=3452