DYMO LABELWRITER 450 SETUP ONLY (see below for 550s)
Printer installation, setup, and troubleshooting
Setting up the printer
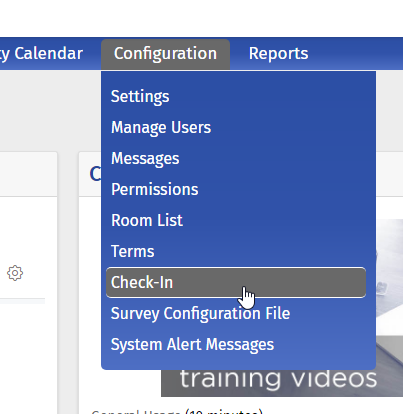
1. Select the 'Check-In' menu option located under the configuration menu.
2. Click the 'Software/Driver v8.7.2' link to download the required printer software and driver (software/driver also available HERE). Printing nametags requires purchase of the Dymo LabelWriter 450, click on the included hyperlink to access further information for purchase.
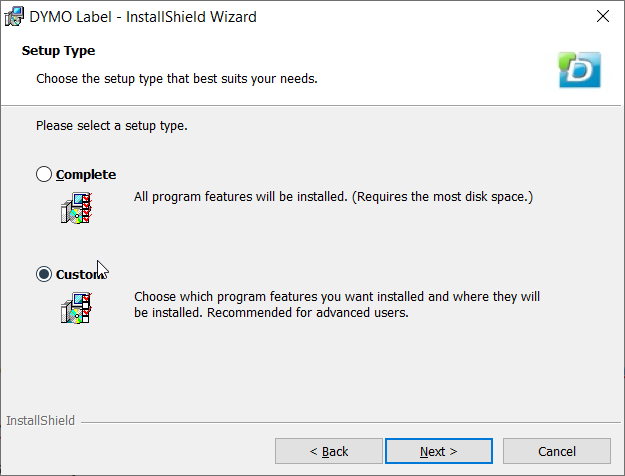
3. Next, run the downloaded DLS8Setup.8.7.2.exe file to launch the DYMO printer installer. During installation, select the 'Custom' option when prompted.
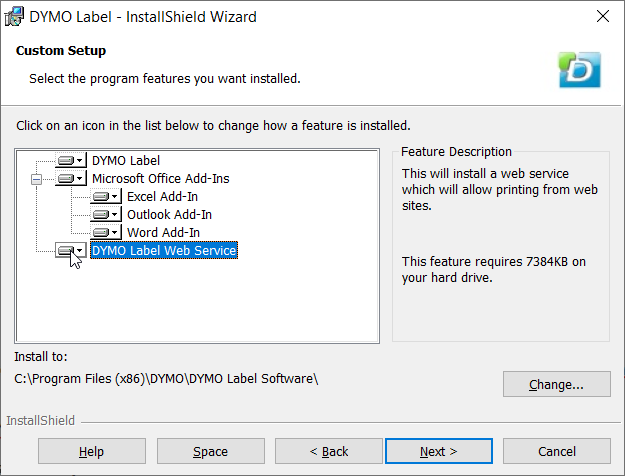
4. Ensure the last option listed, 'DYMO Label Web Services', is included in the installation. Clicking the box to the left of this option will allow you to ensure the plugin is installed. Once you have done so, follow the instructions included in the installer software.
How to Print Nametags
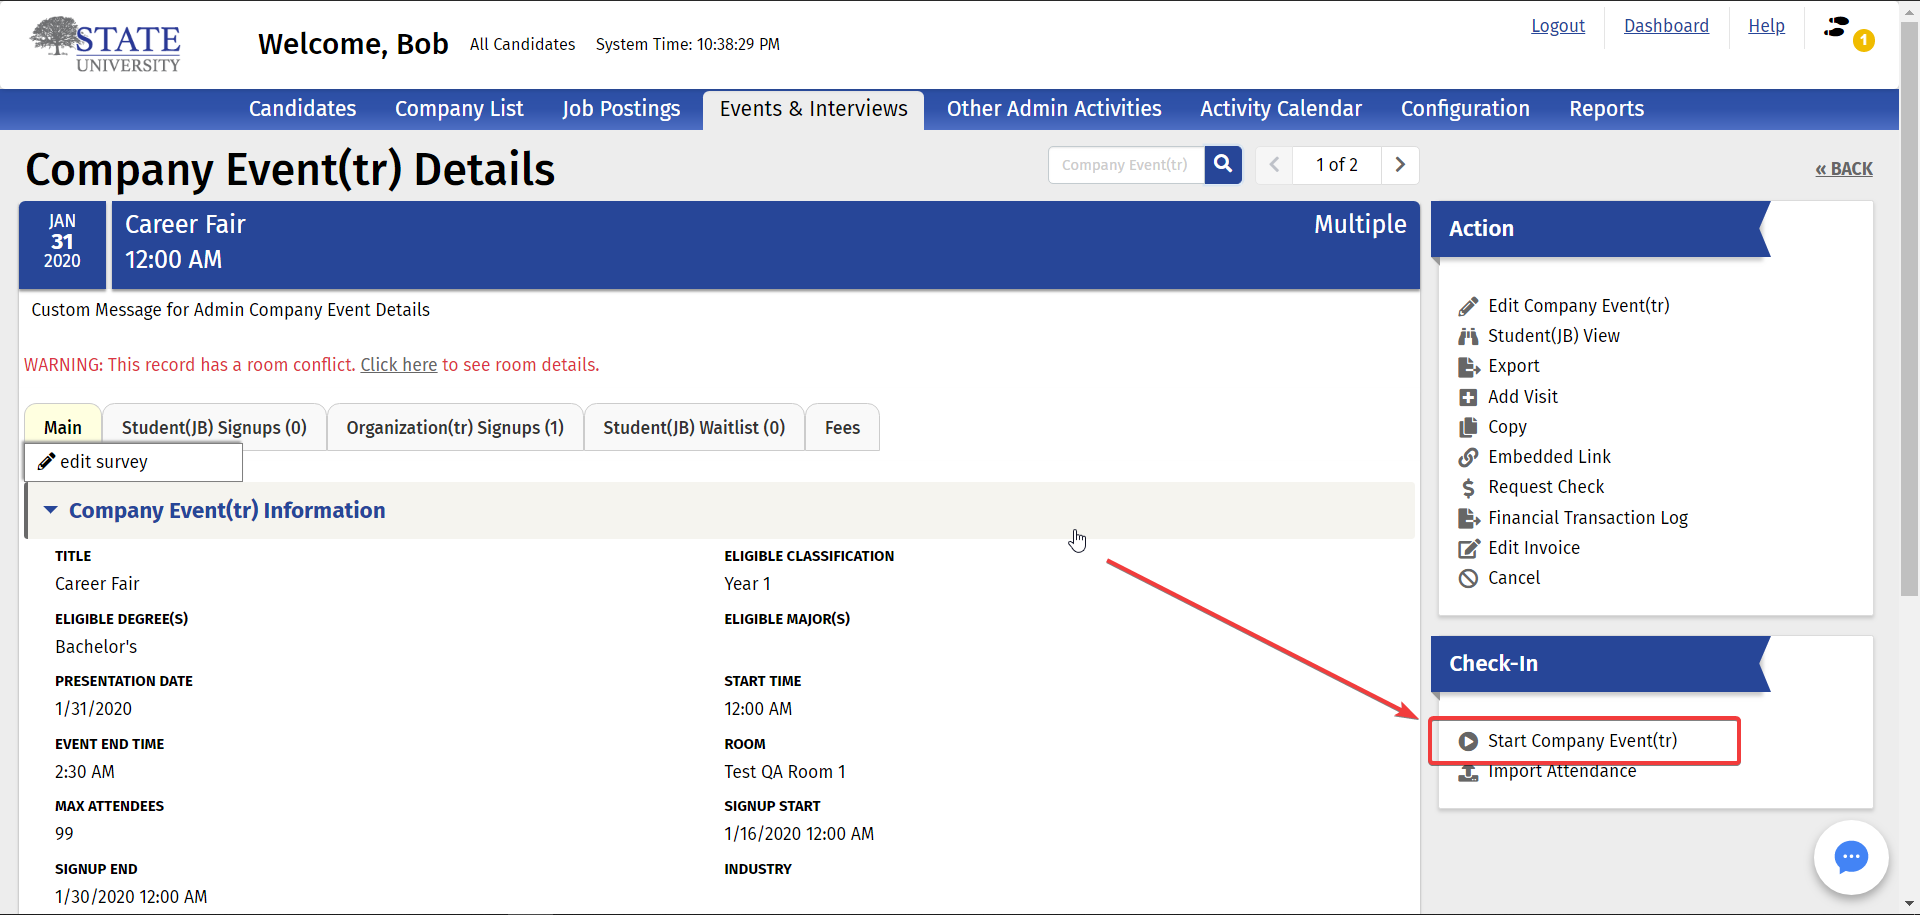
1. When you are ready to start the check-in process, open the Company Event/Advising Appointment/Interview Detail screen.
2. Click on 'Start Company Event', 'Start Advising', etc in the Check-In section to the right.
3. When prompted, enter your global password.
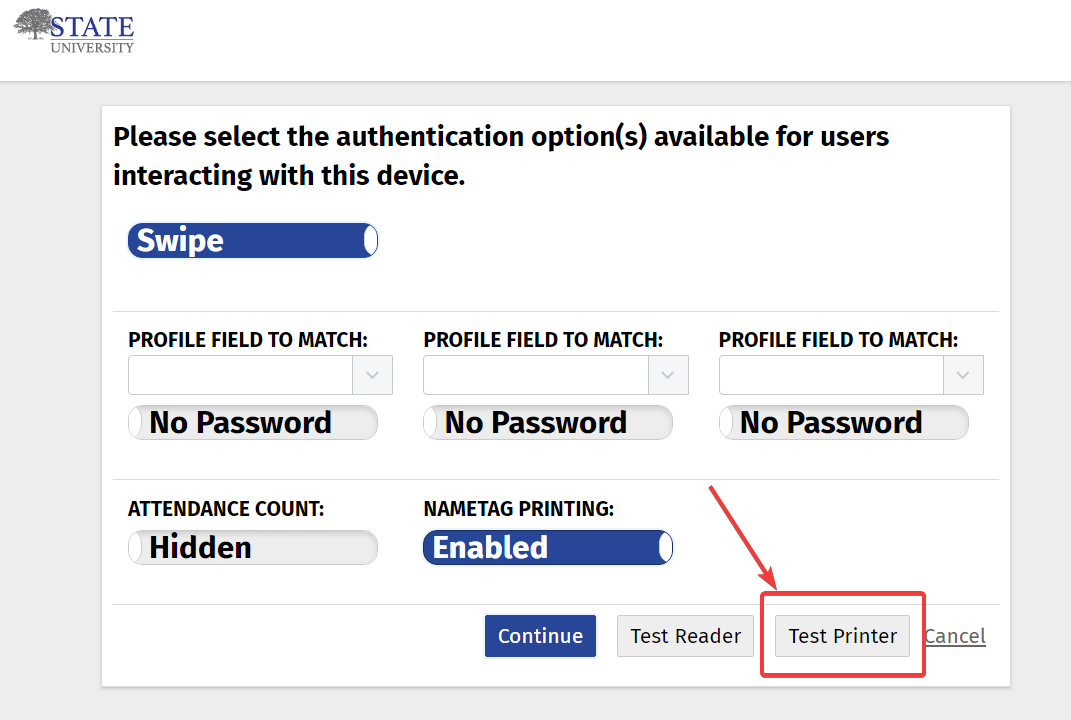
4. Select the appropriate settings for your needs and ensure that Nametag Printing is Enabled.
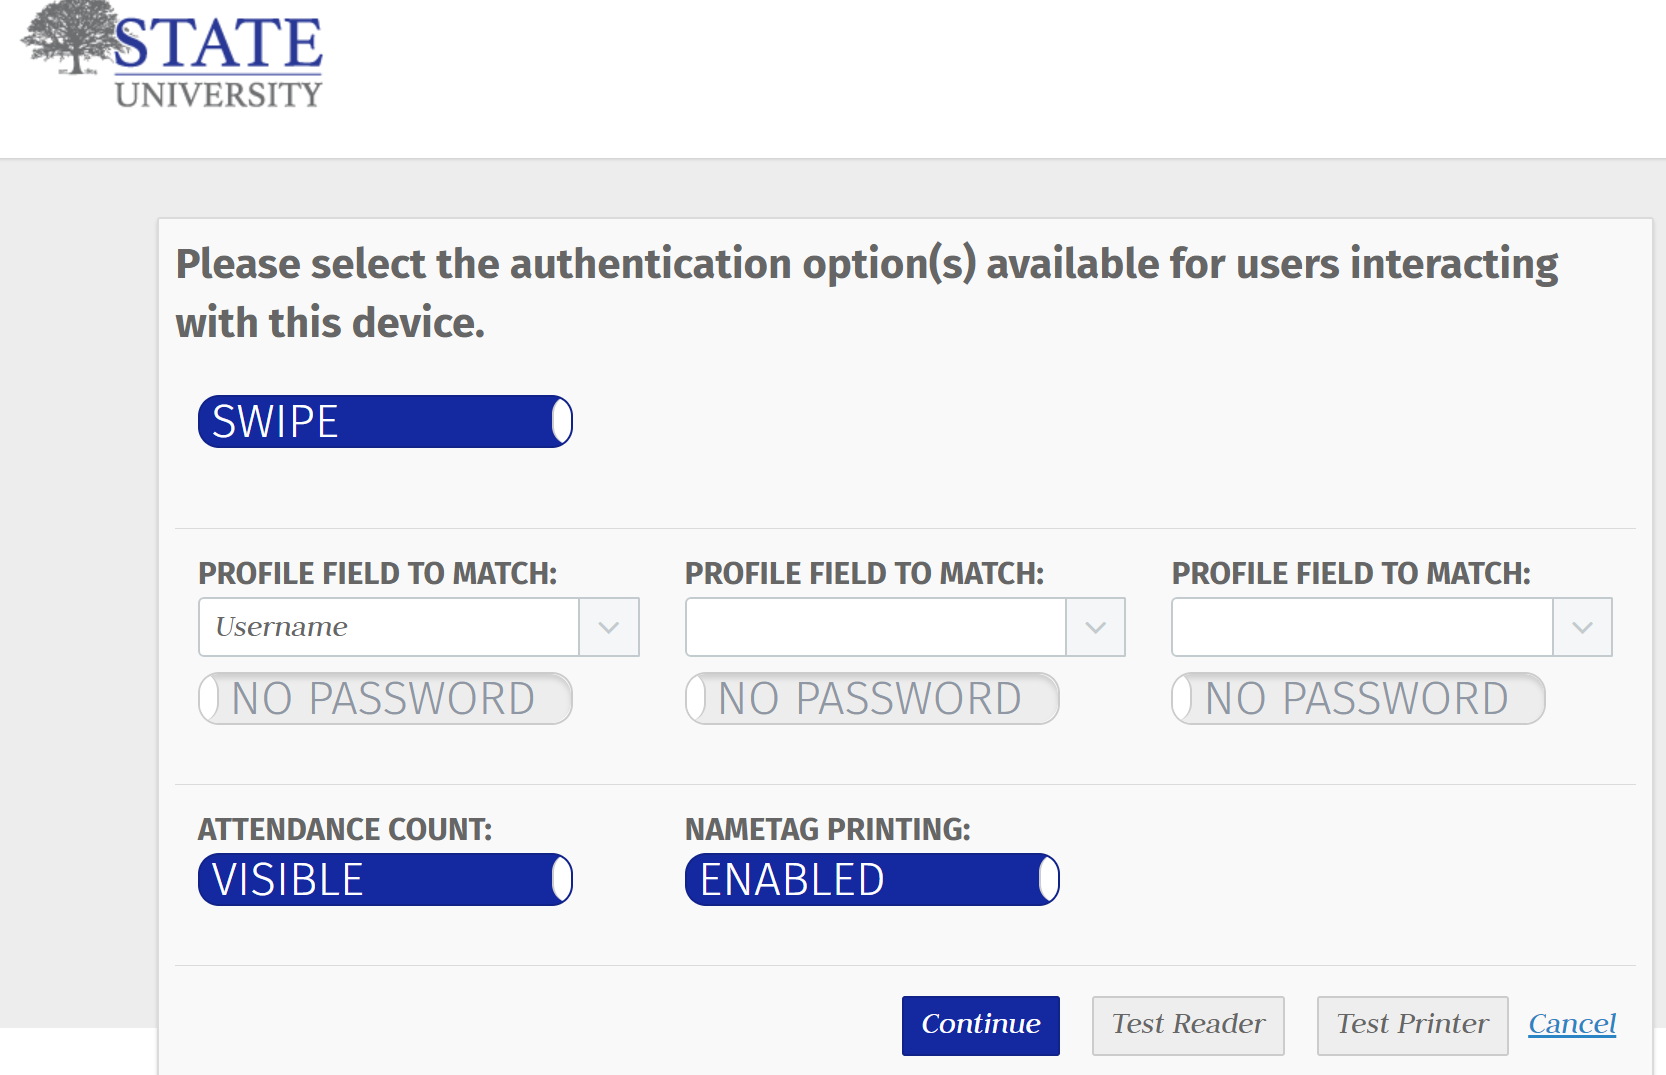
5. To test the printer, click the 'Test Printer' button. A Nametag will print on the Dymo printer using the default template or custom template if one has been uploaded. NOTE: It is highly recommended that you test nametag printing in advance of any event to ensure the printer has been set up correctly.
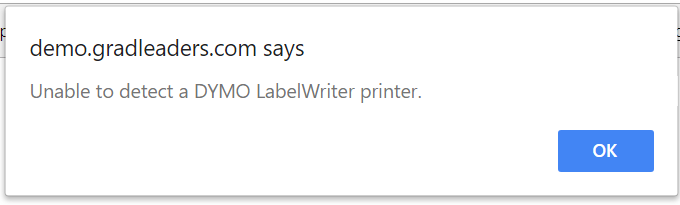
* If the following message appears, it indicates one of the following issues:
Troubleshooting the DYMO Web Service
The web service should start and function by default; however, if you experience the error displayed in the previous section and you have ensured your printer is connected, it may be necessary to follow the listed steps.
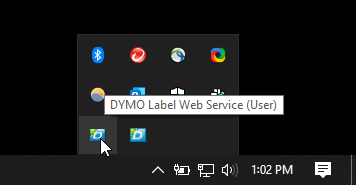
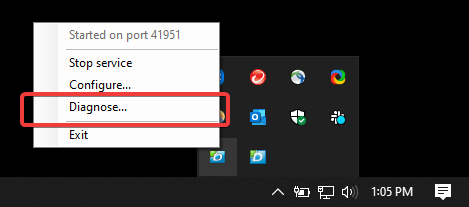
1. Click on the 'DYMO Label Web Service' located in your system tray.
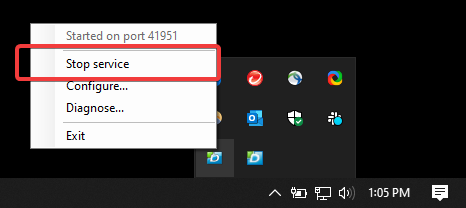
2. Ensure the service is running. If it is not, start the service; if the service is already running, restart the service.
3. If restarting the service does not resolve the error you are receiving, select the 'Diagnose' option. Then, click 'Yes' on the following message.
4. If your browser displays the following message in a new tab, you web service is working correctly.

If you still have issues printing, check that your printer software is the correct version compatible with the GLCC platform (software and drivers download instructions listed above). If you have followed all troubleshooting steps please contact support at support@gradleaders.com
Custom template creation and upload steps
Downloading the default nametag template and creating a custom template
GLCC uses the standard template by default. To create a custom template, follow the steps below; downloading the standard template allows you to edit and save a custom template in the DYMO label editing software that can then be uploaded to GLCC.
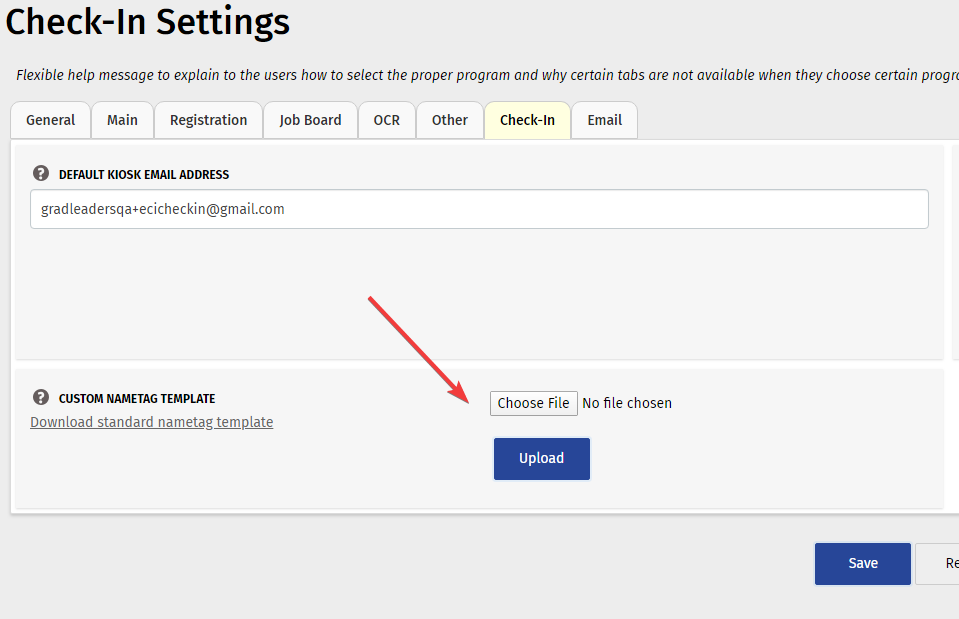
1. Select the 'Settings' option under the configuration menu.

2. Select the Check-In tab
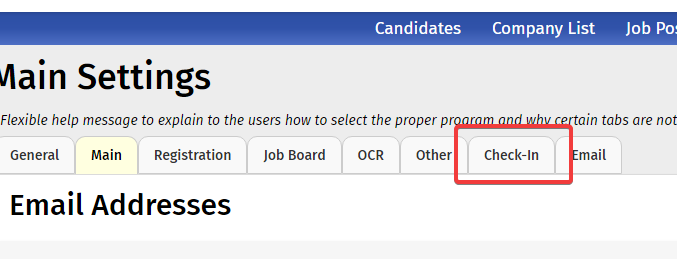
3. Click the 'Download standard nametag template' link to download the default nametag template.
4. Once the NametagTemplate.zip file has been downloaded, extract the 'Default nametag template.label' file and open it using the DYMO label editing software.
5. From here, use the following section to help generate a custom template.
Default Layout for printed nametags
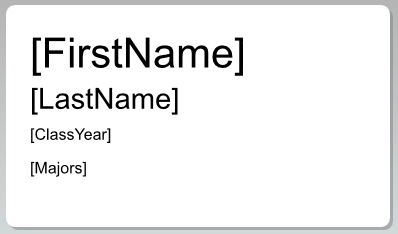
Nametag printing supports the following fields ONLY:
The nametag format can be changed in the Dymo software but only the above fields are available for printing.
Default format:
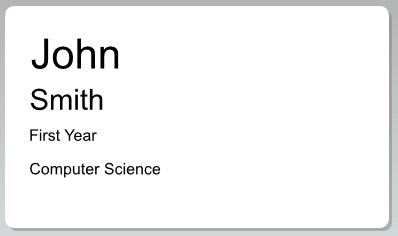
The resulting printed nametag using the default format:
Modifying the nametag template:
1. In the Dymo software, click on 'File' > 'Save As' to save a new file as your custom template. You may change fonts, font sizes or move fields Additionally, you can swap between the combined Major(s)+ClassYear field and the default separated Major(s) and ClassYear fields.
2. To edit, click the 'Insert' tab.
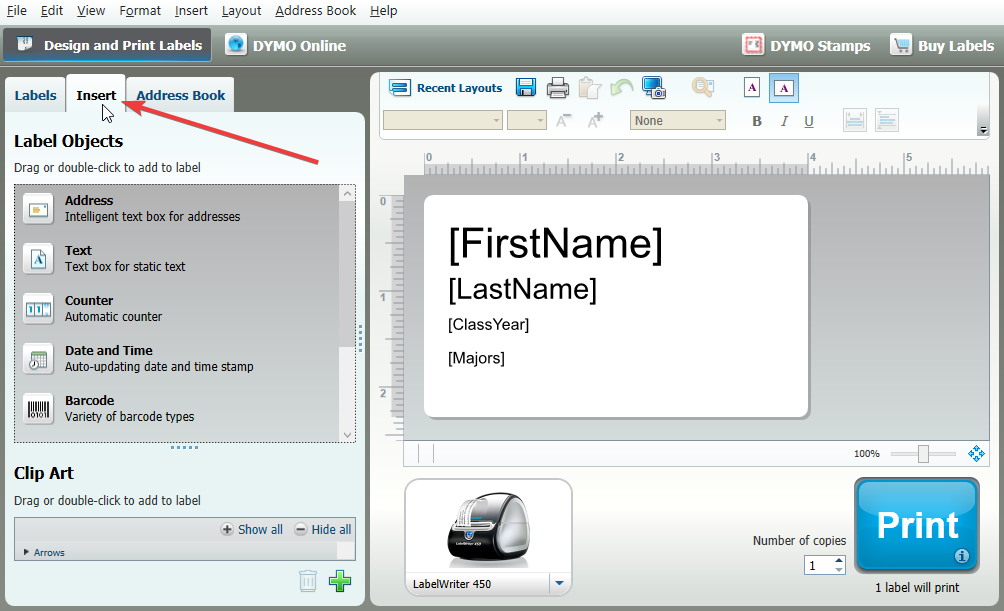
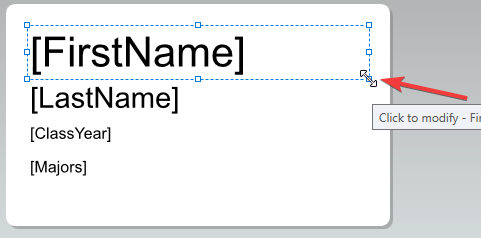
3. On the insert tab you are free to alter the size of each field by increasing or decreasing the surrounding box for each element. You may also move these fields into different locations using this method.
4. Save you updates to the new custom template file.
To Switch to the combined 'Major(s)+ClassYear field (optional):
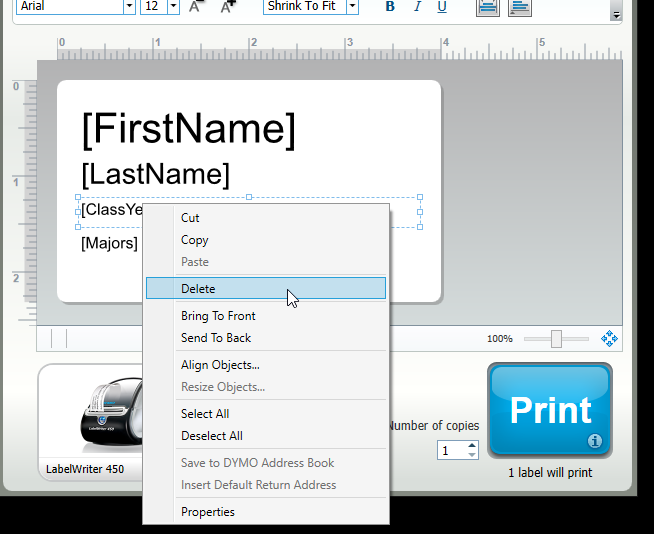
1. Delete both the 'Major(s)' and 'ClassYear' fields by right clicking on them and selecting delete
2. Drag or double click the 'Text' option from the left panel of the editor and position the text box as desired.

3. Right click the text box and select 'Properties'.
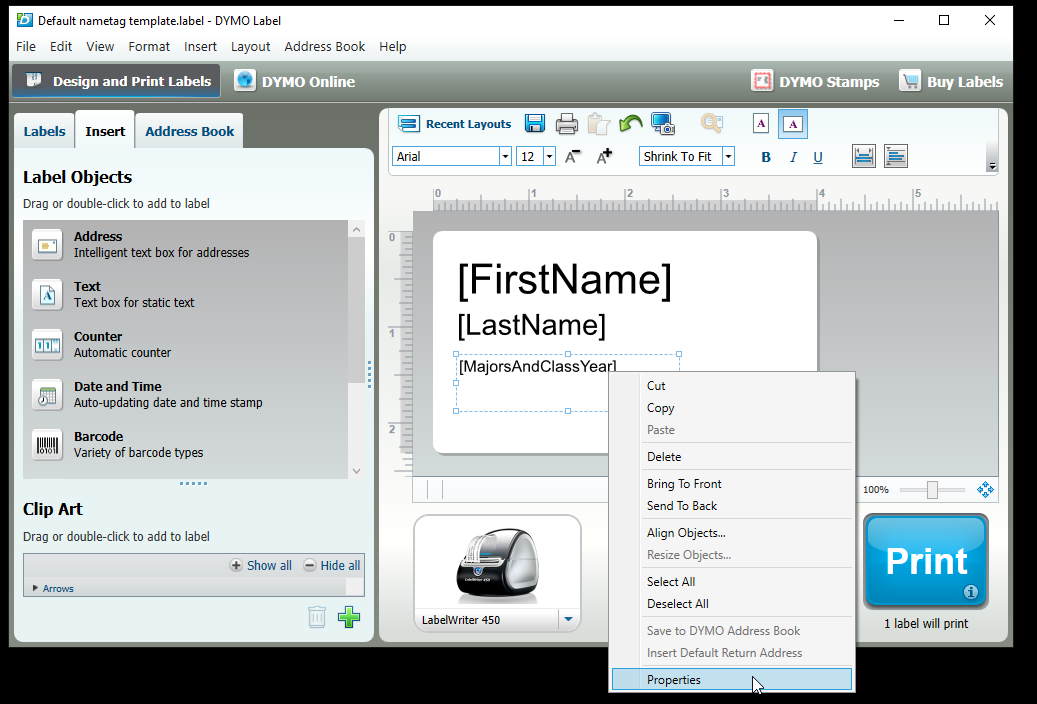
4. On the advanced tab, enter MajorsAndClassYear into the 'Reference Name' field and click 'OK'.
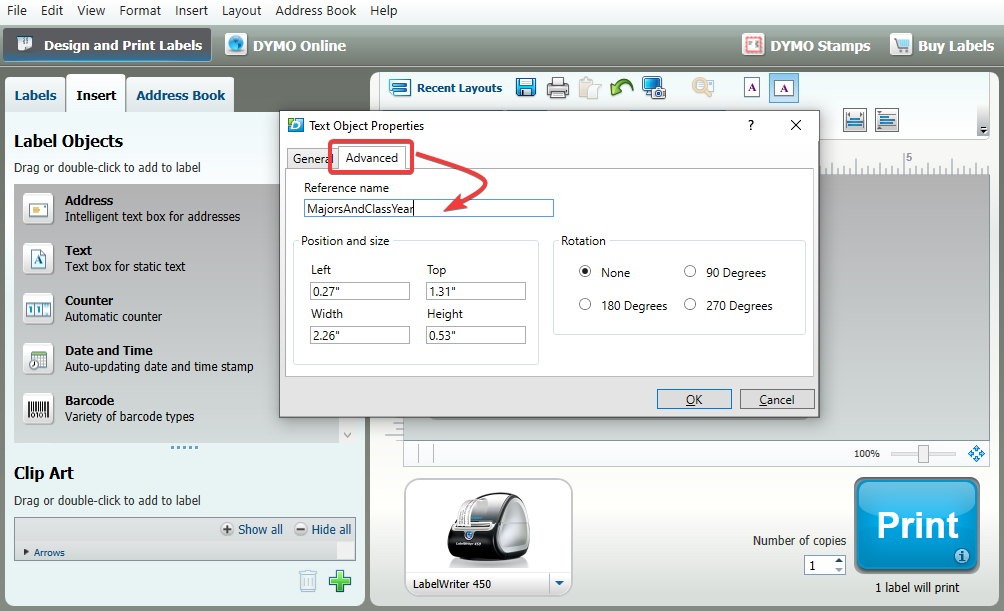
NOTE: All available fields us a 'reference name' in order to populate the printed nametag with the correct student that is checking in. If you alter any field, ensure they follow the listed reference names before saving.
| Field name | DYMO reference name | |
| First Name | FirstName | |
| Last Name | LastName | |
| Class Year | ClassYear | |
| Major(s) | Majors | |
| Majors+ClassYear | MajorsAndClassYear |
5. Lastly, Save your template. You are now ready to upload this as a custom template.
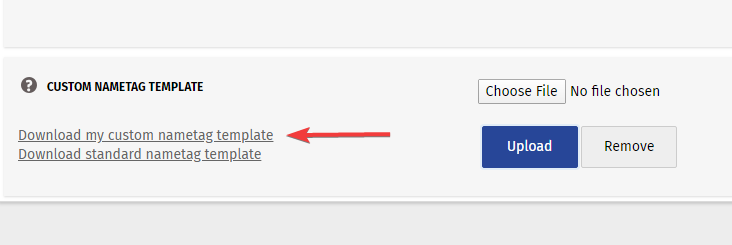
To Upload the new file:
The new custom nametag template will appear.
NOTE: If you are changing nametag templates after an event has been launched for Check-In, click on the lock icon in the top right of the Check-In screen to re-set.
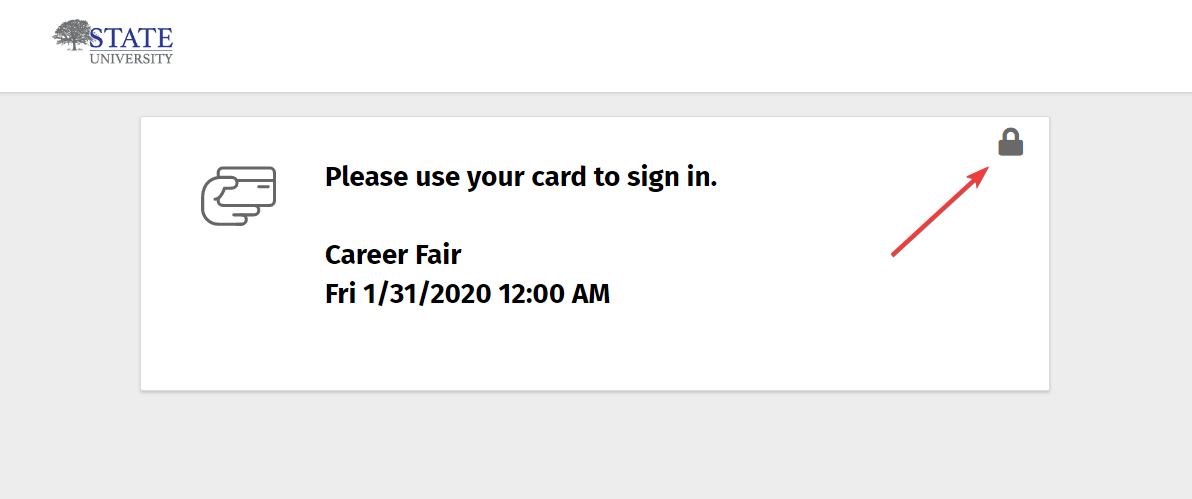
This will require that you re-enter your global password and access the Check-In set up screen.
From here, you can click on Test Printer to make sure the new format is used.
NOTE: The GradLeaders Career Center platform is integrated with the Dymo software to print labels. GradLeaders is happy to provide this added service but does not support the Dymo software beyond instructions shown here. To learn more about how you can use the Dymo program, click on Help in the Dymo Label Application.
DYMO LABELWRITER 550 SETUP ONLY
UPGRADING FROM 450 TO 550 INSTRUCTIONS
1) Disconnect USB from DYMO printer to computer.
2) Open “Printers” in Windows, select DYMO 450 print and click “Remove device”.
3) Open “Add or Remove Programs” in Windows, search for “DYMO” and select “Uninstall“.
4) Reboot the computer.
5) Now follow the “New Installation Instructions” below.
NEW INSTALLATION INSTRUCTIONS
1) Make sure no DYMO printer USB cables are connected to the computer.
2) Run the “DYMO Connect” software installer ( Driver & Software Downloads): https://s3.amazonaws.com/download.dymo.com/dymo/Software/Win/DCDSetup1.4.3.131.exe
3) Make sure the “Complete” install option is chosen.
4) Once installation is complete, plug in printer USB cable and ensure the 550 shows up under the printer list in Windows and the “DYMO Connect Service” is running (task tray).
5) NOTE: the DYMO 550 has DRM so you must use official labels or it will not print. This can be verified if you simply open the DYMO Connect software and print a test label there first.
6) On the CheckInSettings.aspx page, change the NameTag Format setting to DYMO Connect Version 1
DYMO Connect New Nametag Format/Creation Instructions
1) All fields with substitution data in the new nametag format must be of type "Text".
2) Since there is currently no way in the DYMO Connect software to create a name for field, the field VALUE/TEXT must be the field name, for example: FirstName, LastName, etc. There cannot be any spaces, carriage returns, brackets or whitespace in the field value or will not work. This is a DYMO labelwriter limitation.
3) Once the desired fields are added, save the label and upload it in the Admin > Configuration > Settings > Check-In settings page.
4) NOTE: the same list of substitution variables exist in the new template. If there is any doubt about how to do this, just download the new standard template from the Check-In settings page and look at it.
Article ID: 3347
Created On: Sep 7, 2018 at 12:02 PM
Last Updated On: Aug 30, 2022 at 1:51 PM
Authored by: Mohamed Noor
Online URL: http://kbint.gradleaders.com/article.php?id=3347