Email Campaigns
Email Campaigns
Email Campaigns are created and scheduled to send custom email messages to a targeted group of students or employers at a time in the future.
Overall, Email Campaigns include the following steps:
- Designate a set of students or employers via a saved search or folder of searches
- Create email message text using custom fields and attachments
- Create a new email message and/or template
- Pick an existing email template
- Set campaign parameters
To create an Email Campaign:
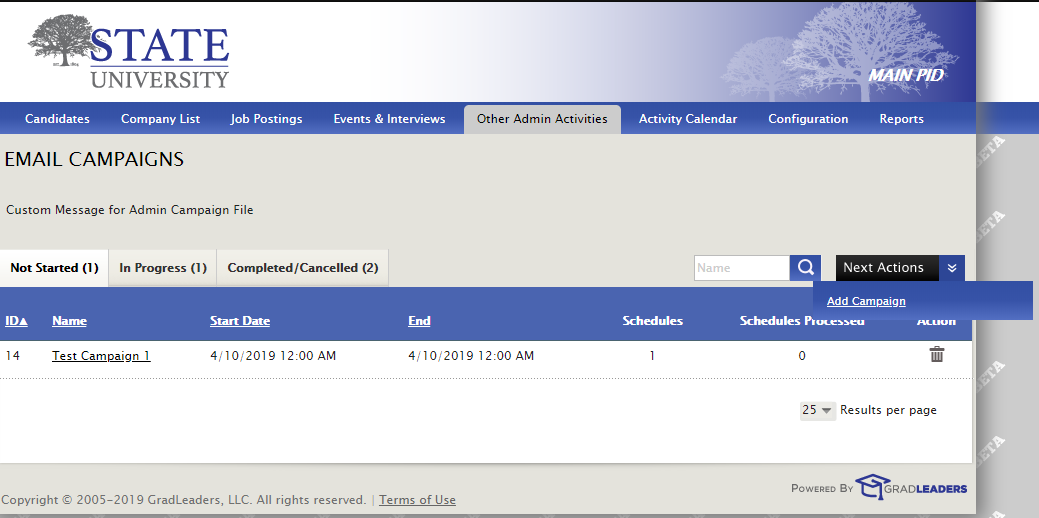
- Click on Other Admin Activities > Email Campaigns
- Previous campaigns can be accessed by status by clicking on the Not Started, In Progress or Completed/Cancelled tab.
- To add a new campaign, click on Next Actions > Add Campaign
- Enter Name of the campaign and Description.
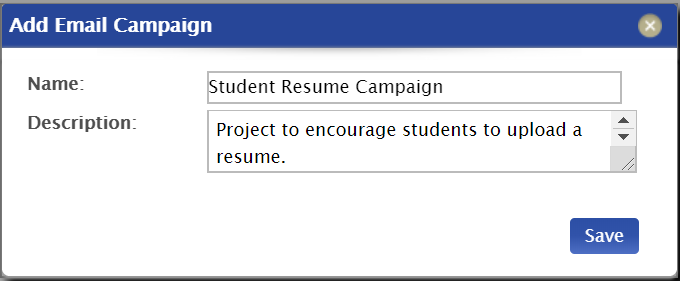
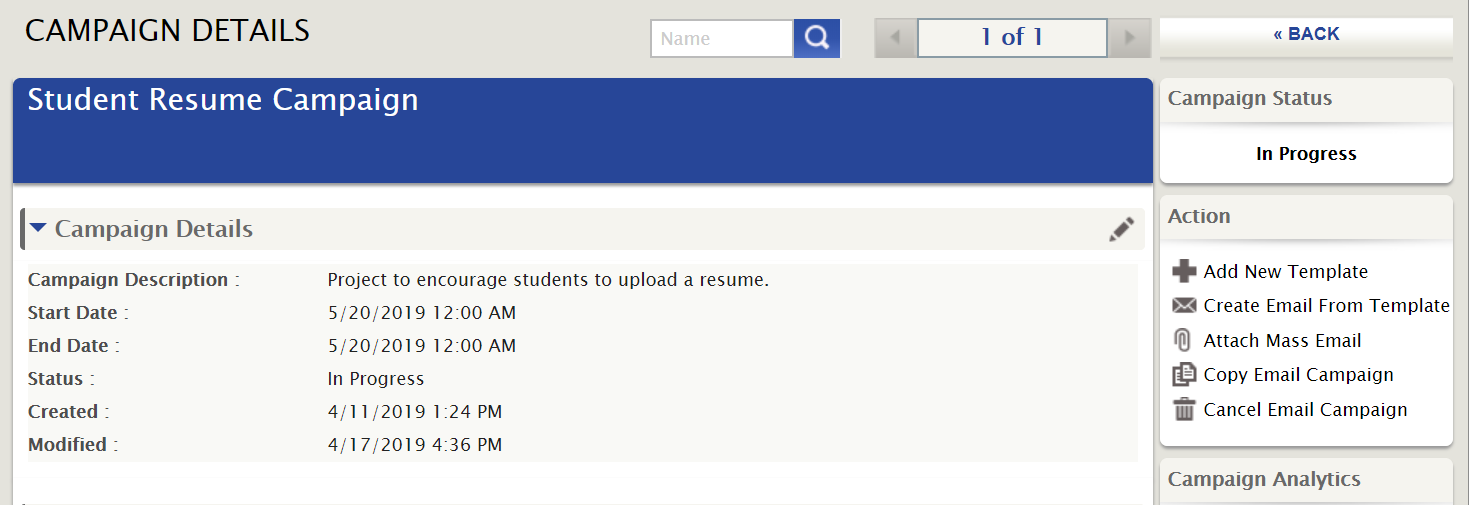
- Click Save. This pulls up the CAMPAIGN DETAILS page.
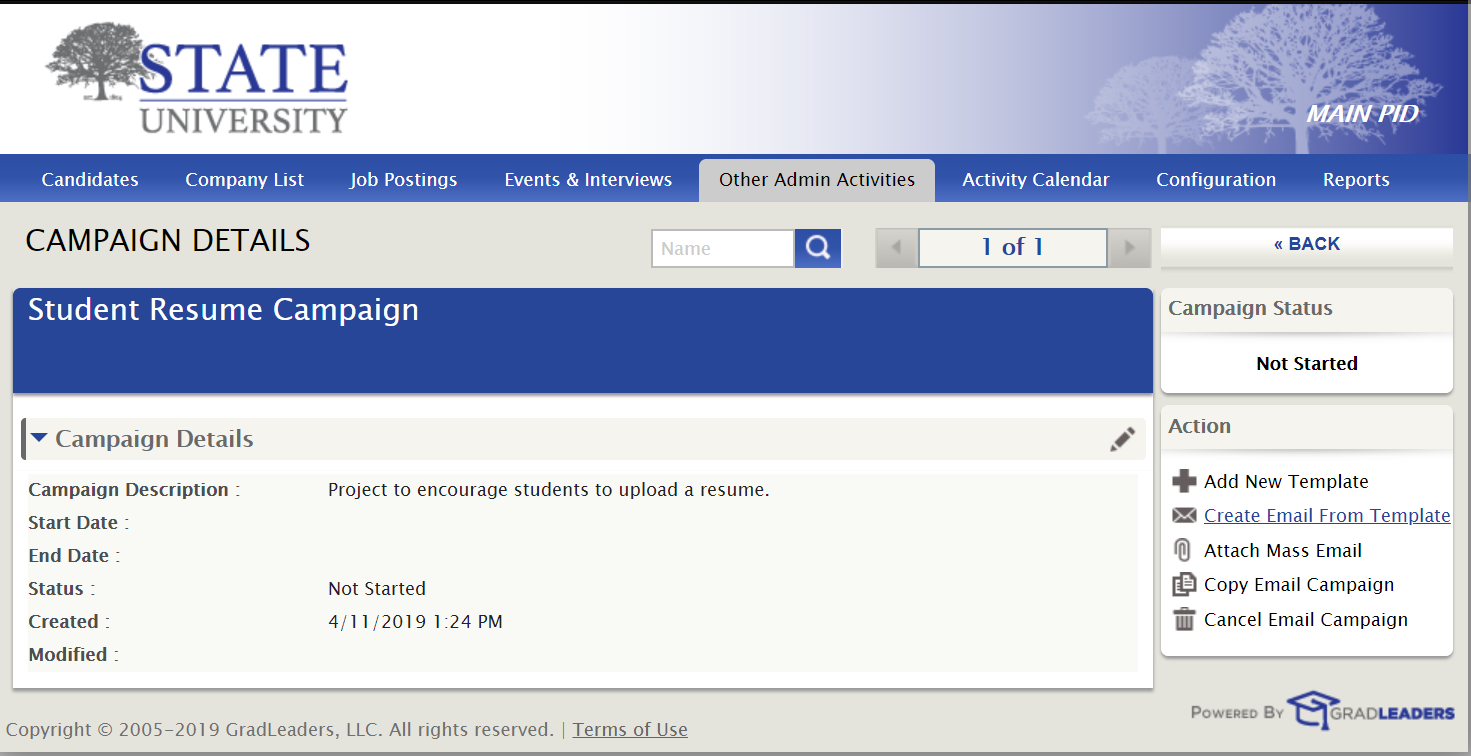
- Name Search - Other campaigns can be accessed from this page by entering a keyword from the name of the campaign.
- Campaign Status (at right) - indicates if project is Not Started, In Progress, Completed or Cancelled.
- Campaigns can be accessed by each status tab on the Email Campaigns page. (See first image above.)
- Actions
- Add a New Template - click here to create a new email template for this campaign.
- Create Email From Template - click here to create an email from an existing template.
- Attach Mass Email - click here to attach an existing email message from the Mass Emails that have been previously sent (Mass Emails menu).
- Copy Email Campaign - click here to copy an existing email campaign.
- Cancel Email Campaign - click here to cancel an email campaign and disable any further processing.
Action: Add a New Template
- From the CAMPAIGN DETAIL screen, click on Add New Template.
- Select Audience from dropdown. Audience is the population from which the recipients of the email are drawn.

- This generates the NEW TEMPLATE screen. To learn how to add a new email template, go to KB article: Creating Custom Email Messages & Accessing Email Analytics.
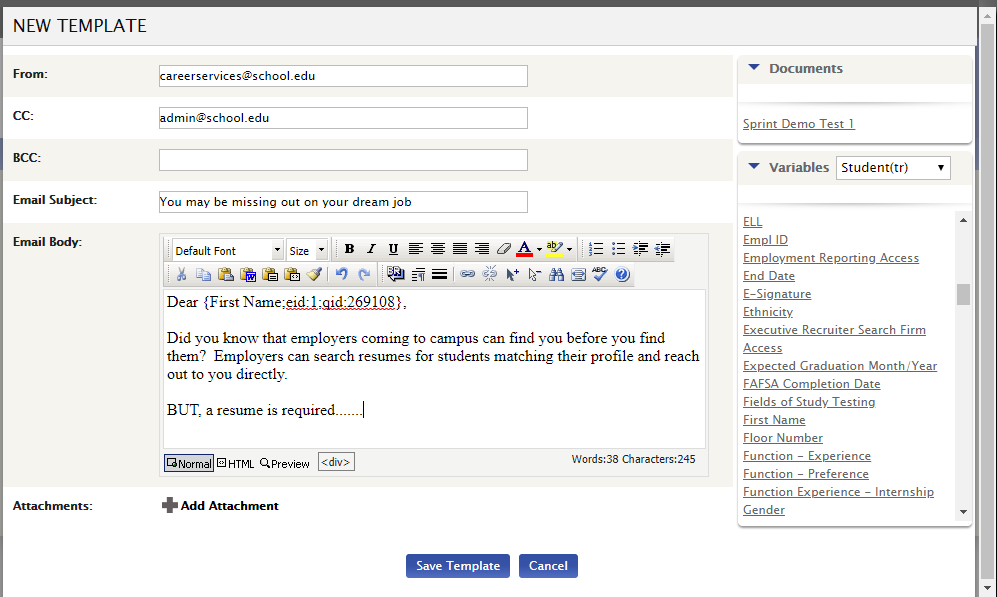
- After entering all the template information, click on Save Template.
- Add a Template Name and select Access.
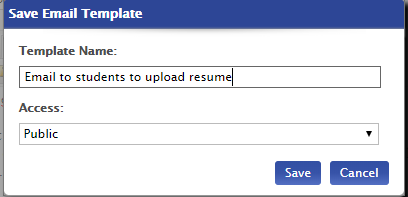
- Click Save.
Action: Create Email from Template
If a template has already been created anywhere in the system, it can be selected and used for this campaign.
- From the CAMPAIGN DETAIL screen, click on Create Email from Template.
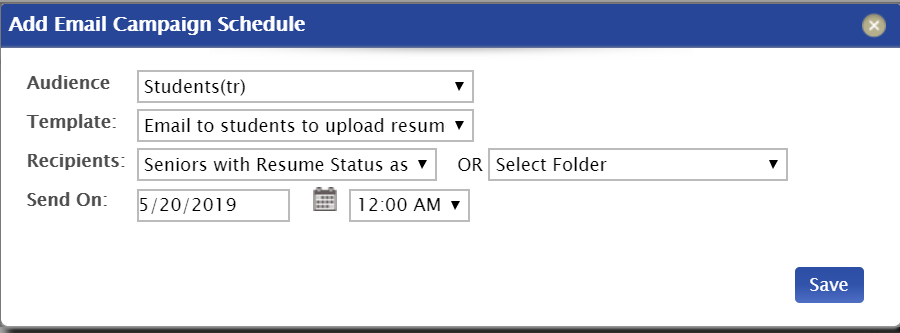
- In the Add Email Campaign Schedulepop-up screen:
- Select Audience (set receiving emails) from dropdown.
- Select Template from the list of previously-created templates.
- Select Recipients from either the Save Search (list will update based on search parameters) or Select Folder (fixed list at time it was saved) dropdown. (These are saved on the Candidate or Recruiter file.)
- Enter Send On date and time. This is when the email is scheduled to be sent out to the recipients.
Action: Attach Mass Email
Use this option to select a past mass email that has been already been sent and add it to this email campaign.
- From the CAMPAIGN DETAIL screen, click on Attach Mass Email to link to the MASS EMAILS screen.
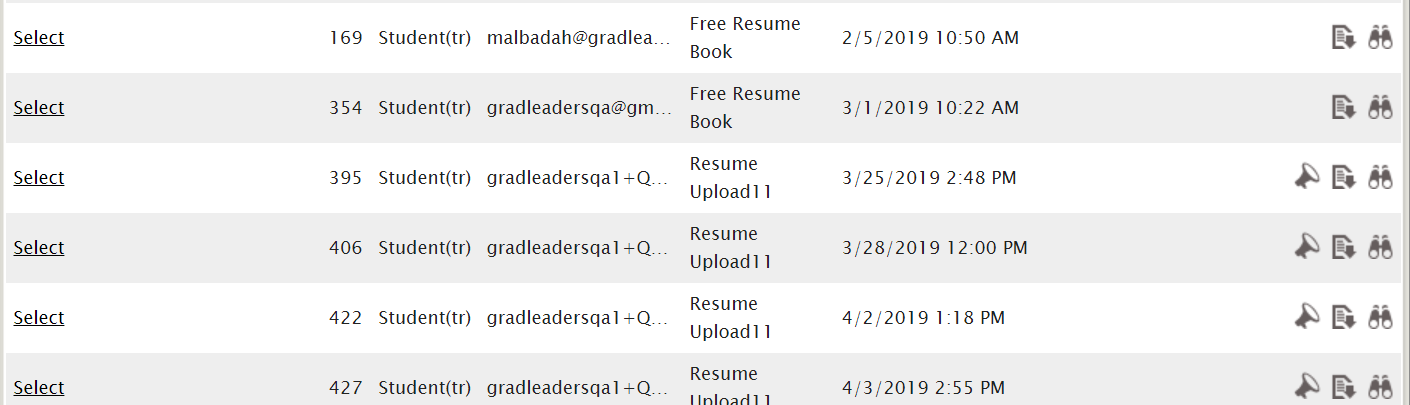
- Enter search criteria to find the mass email to pull into this campaign.
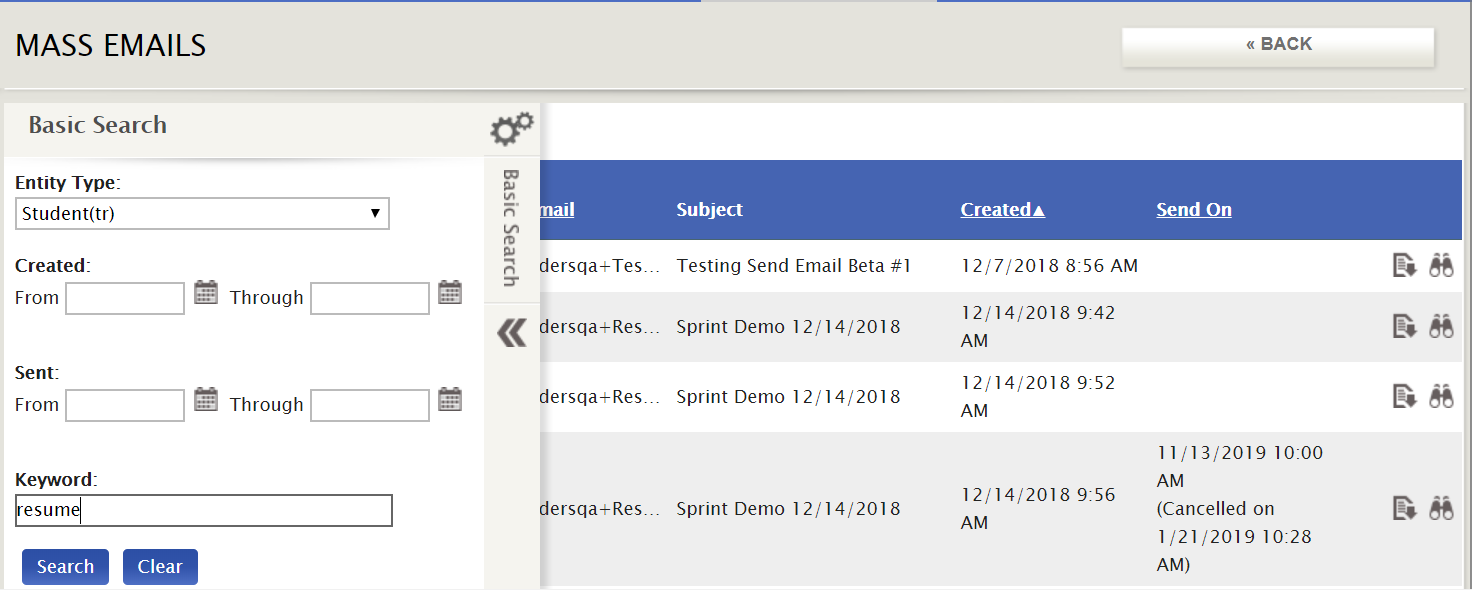
- Click on Search.
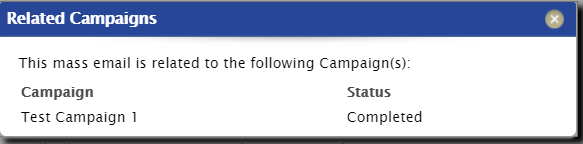
- The
 icon next to a mass email indicates that this email has been used in a campaign. To get more info, click on the icon. Click on the X to close the box.
- The
- From the results or Matched tab, click Select next to the email to use in your campaign.
- This will take you back to the CAMPAIGN DETAILS screen.
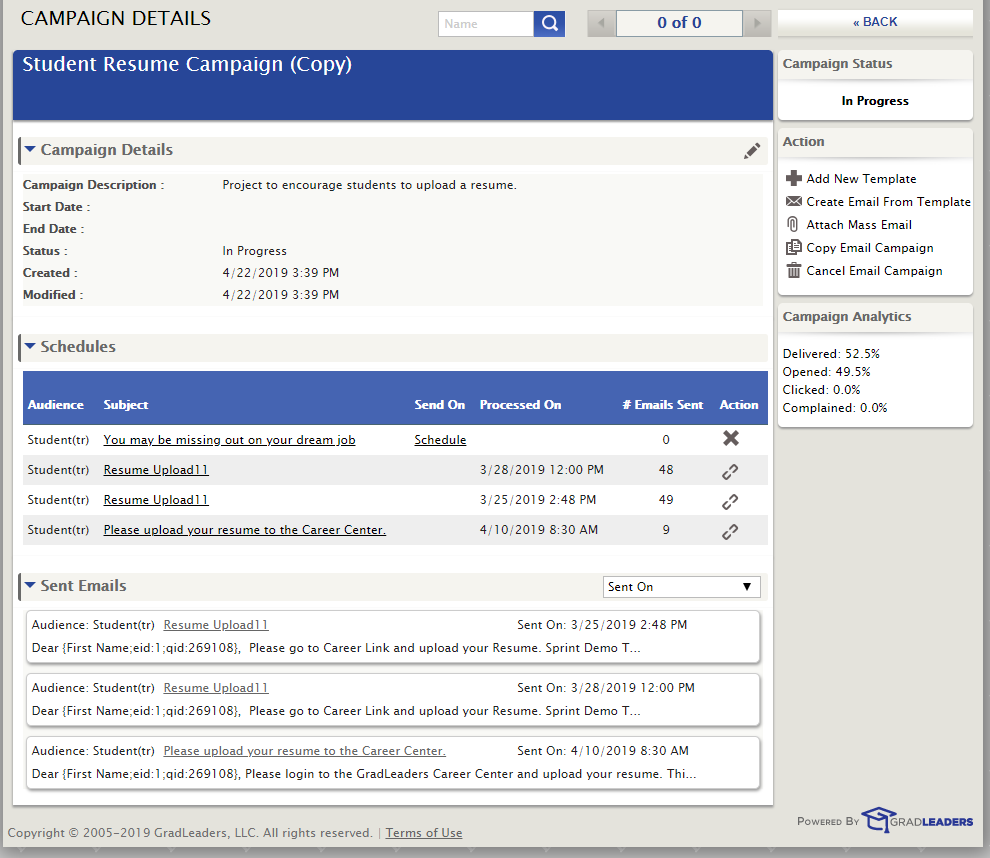
- The Campaign Details section contains the name of the Campaign and the description.
- If a schedule has been added, the Start Date and the End Date will be filled in Add Email Campaign Schedule screen.
- Status
- New - no emails have been scheduled.
- In Progress - emails scheduled but not completed.
- Completed - all emails have been sent and no others are scheduled.
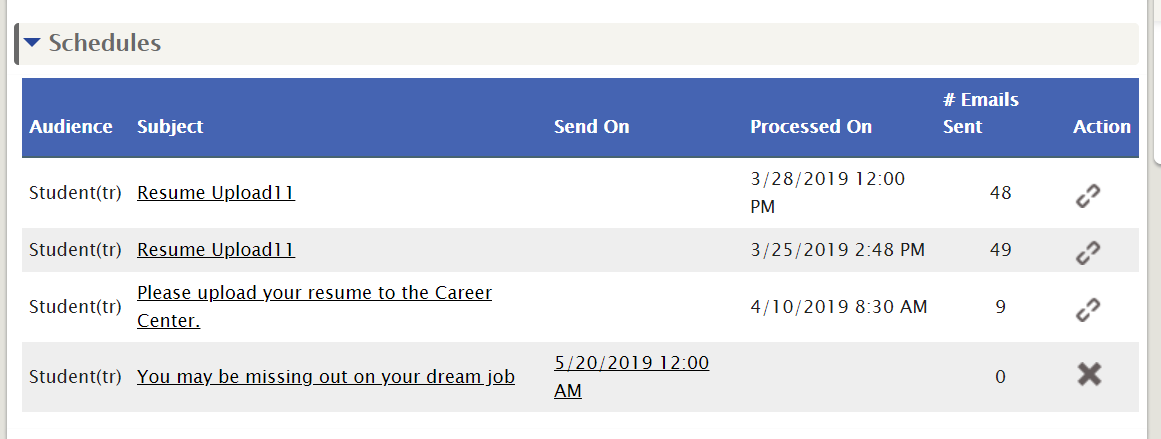
- Schedules lists all the Email messages that are part of the campaign. If it has been sent, the # of messages or # Emails Sent will be listed. An email can be unlinked from the campaign by clicking on the link icon under Action. If the email hasn't been sent, click on the X and this will remove it.
- NOTE: Since you are not adding or modifying a template, this does not automatically open the Message Details. However, you can review the email content by clicking on the email Subject in the Schedules section.
-
- Click on the subject hyperlink (ex. Resume Upload1 1 above) to get the CAMPAIGN EMAIL DETAILS particular to that email message including text and analytics for that message.

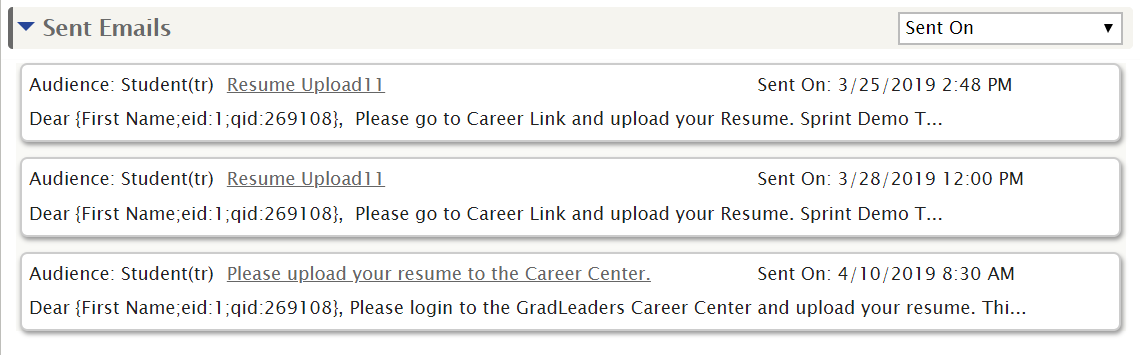
The Sent Emails section on the CAMPAIGN DETAILS screen lists all emails that have been sent that are part of the campaign. They can be sorted by:
- Sent On - date sent as listed
- Sent On (Latest) - date sent by most recent
- Audience - which audience was targeted for this email
- Audience Descending - audience in descending order
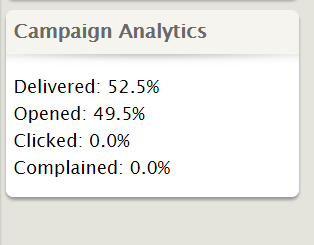
- The Campaign Analytics section lists the total Delivered, Opened, Clicked through and Complained about for all messages sent in this campaign.
Action: Copy Email Campaign
- From the CAMPAIGN DETAILS screen, click on Copy Email Campaign.
- A message appears asking to confirm the action.
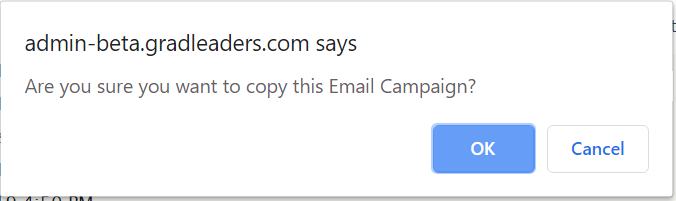
- Click OK to proceed.
- This links to a new CAMPAIGN DETAILS screen with the same campaign name followed by "(Copy)" to indicate that the campaign has been copied.
- All elements of the campaign are copied including details, schedules and sent email list.
Action: Cancel Email Campaign
- From the CAMPAIGN DETAILS screen, click on Cancel Email Campaign.
- A message appears asking to confirm the action.
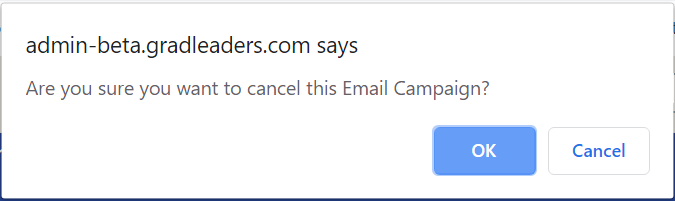
- Click OK to proceed.
- The Campaign status will change to Cancelled.
- Actions can be taken to Add New Template or Copy Email Campaign.
- If actions are taken, the status will change to In Progress.
CAMPAIGN ANALYTICS REPORT